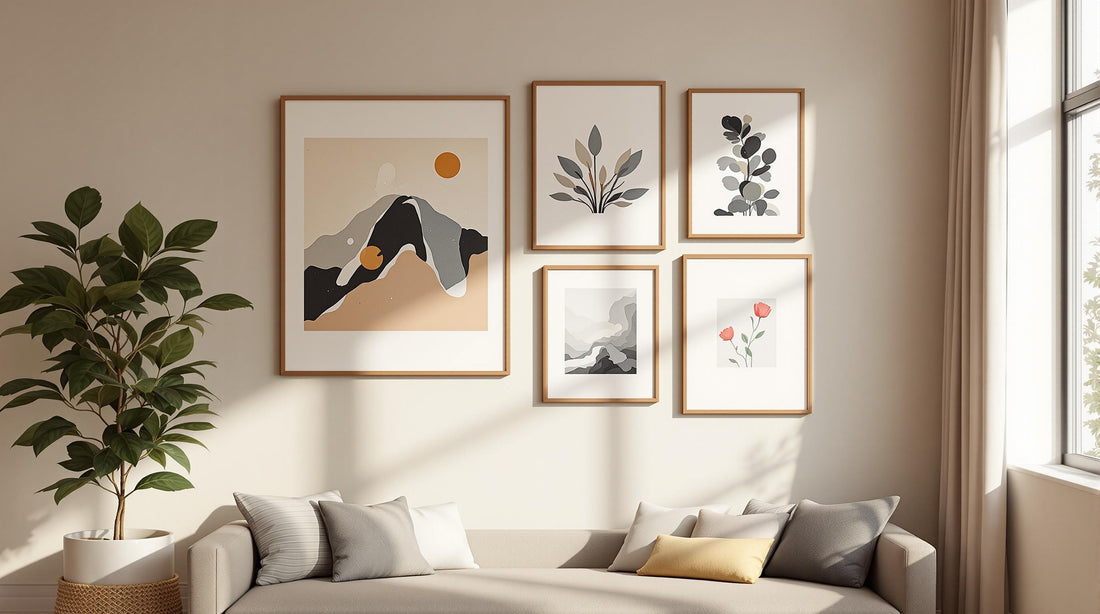
Creating a gallery wall can transform a blank space into a personal, eye-catching display. Here’s a quick guide to get started:
- Plan Your Layout: Measure your wall and sketch or tape out a design.
- Mix Sizes and Orientations: Combine large, medium, and small pieces in portrait, landscape, and square formats.
- Coordinate Colors: Match artwork with your room’s color scheme for a cohesive look.
- Blend Art Types and Materials: Use prints, paintings, photos, and 3D elements to add variety and texture.
- Choose Frames Wisely: Opt for matching frames for unity or mix styles for character.
- Add Personal Items: Include photos, keepsakes, or mementos to tell your story.
- Plan for Growth: Leave space for future additions to keep your wall dynamic.
Start by testing your layout on the floor or with templates on the wall. This ensures balance and avoids unnecessary holes. With these steps, you can create a gallery wall that reflects your style and evolves with time.
Design Expert's Guide To The Perfect Gallery Wall | Tricks of ...
Planning Your Wall Display
Start by measuring the width and height of your wall to understand the space you're working with. Grab a piece of paper and sketch out a layout, or use painter's tape directly on the wall to outline where each frame or piece will go. This helps you visualize the arrangement before committing.
Choose a central piece to act as the focal point of your display, then arrange the other items around it. Keep the spacing between pieces consistent to create a balanced and polished look.
Once your layout is ready, you can move on to selecting frames in various sizes and shapes (see Tip 1).
1. Choose a Mix of Sizes and Orientations
Use a variety of artwork sizes - large, medium, and small - and mix up the orientations with portrait, landscape, and square pieces. This creates visual interest and naturally draws the viewer's eye across your gallery wall. Once you've arranged the sizes, focus on coordinating colors (see Tip 2).
2. Match Your Colors
Coordinate your artwork with your room's color scheme. Start by identifying the main and secondary colors in your wall paint, furniture, and fabrics. Then, choose artwork that incorporates those shades. To tie everything together, use small accents like pillows or vases in similar hues to create balance and harmony in the space.
3. Mix Art Types and Materials
Once you've coordinated your colors, take your gallery to the next level by blending different art styles and materials. Pair abstract pieces with figurative works or other styles to create visual contrast and draw attention across your arrangement. Use a variety of materials - like paper prints, canvas paintings, wood carvings, metal details, or textiles - to add texture and dimension. Stick to one main style as your anchor, then lightly incorporate secondary styles and materials to keep the overall look balanced and unified.
4. Select Your Frames
Once you've mixed sizes, colors, and materials, it's time to pick frames that tie your gallery wall together.
Using matching frames can give your wall a clean, unified look, while mixing frame styles adds character. To keep things balanced, let one frame finish take the lead and sprinkle in one or two accent finishes.
Here are some tips for choosing frames:
- Pick a primary finish (like matte black, natural wood, or metallic) and add one or two accent finishes.
- Stick with white or off-white matting for a polished, gallery-style look. Only use colored mats if they complement the artwork.
For pieces that are busy or vibrant, go with simple, clean-lined frames. Save ornate or decorative frames for simpler, more understated artwork. If you want to skip the hassle, OMG Kitty offers pre-framed prints in coordinated styles, making frame selection a breeze.
sbb-itb-78c8b21
5. Add Personal Items
Make your gallery wall stand out by blending curated artwork with personal mementos that reflect your story. The key is to combine these elements while keeping the overall design balanced.
Personal Photos
- Print your photos in black and white for a timeless look.
- Use matching frames to create a cohesive style.
- Group photos by themes, like travel adventures or family moments.
Creative Display Ideas
- Use shadow boxes to showcase keepsakes like medals or small souvenirs.
- Add floating shelves for 3D objects such as small sculptures or collectibles.
- Frame vintage postcards in floating frames for a nostalgic touch.
- Display tickets or playbills in simple frames to highlight special memories.
Tips for Balance
- Incorporate personal items sparingly to enhance, not overpower, your gallery wall.
- Place smaller keepsakes near similarly sized artwork to create visual harmony.
- Choose one larger personal piece to serve as a focal point.
- Leave enough space around each item to avoid a cluttered look.
Before you start hanging, try arranging everything on the floor or a large surface to perfect the layout (see Tip 6). This will help you get the spacing just right.
6. Test Your Layout
Before you start drilling, take some time to test your setup to avoid unnecessary holes and fine-tune the spacing.
Use painter's tape to mark your wall's dimensions on the floor. Arrange your artwork or items within this taped area to get a feel for the spacing and overall design.
For a more precise approach, trace each piece onto paper, cut out the shapes, and label them. Tape these templates to the wall to get a clear idea of how the layout will look.
You can also try layout apps that let you upload photos of your art, scale them, and experiment with different arrangements digitally. This way, you can make adjustments without committing right away.
And don’t forget to leave space for any future additions (see Tip 7).
7. Plan for Future Additions
Once you've tested your layout (see Tip 6), think ahead by leaving room for future pieces. It's easier to expand your gallery wall later if you've planned for it from the beginning.
Reserve specific spaces in your design to make adding new items feel natural, not like an afterthought. This way, your wall will look intentional, even as it grows.
To keep everything looking polished as you add more:
- Stick to one color scheme or theme.
- Use matching frame finishes for consistency.
- Include a mix of sizes and orientations for visual interest.
- Take a photo of your current layout to guide future updates.
Think of your gallery wall as a dynamic display that grows with your memories and experiences.
Where to Find Art Prints
Once you've planned your gallery wall, it's time to find prints that suit your style and fit the dimensions of your space. The key is to choose prints with vibrant colors, sharp details, and sizing options that work seamlessly with your layout.
OMG Kitty is a great option for high-quality art prints. They offer hand-designed giclée prints in sizes ranging from A4 to A1, with prices starting at $24.00. You can choose between framed or unframed options, and they provide worldwide tracked shipping.
Here’s what makes OMG Kitty stand out:
- Giclée print quality: Rich, fade-resistant colors with exceptional detail.
- Size options: A4 to A1 sizes to suit any gallery wall arrangement.
- Framing choices: Mix and match unframed and framed prints to create a cohesive look.
Customers consistently rate OMG Kitty 5 stars for their bold designs, excellent print quality, and eco-friendly, made-to-order production process.
Style Options Guide
Once you've planned and tested your layouts (refer to Tips 6–7), it's time to decide on a style that ties everything together. Your chosen style should reflect your personality while creating a unified look for your gallery wall.
Minimalist Gallery
Building on Tip 1's focus on size variety, this style emphasizes simplicity. Use clean, uniform frames - black or white work best - and stick to a neutral color scheme. Keep spacing between pieces precise for an organized and polished appearance. This approach ensures each artwork stands out without clutter.
Bohemian Blend
Inspired by Tip 3's idea of mixing materials, this style is all about layering textures and colors. Combine woven wall hangings with bold art prints, and use natural wood frames to enhance the relaxed vibe. The result is a cozy, artistic space filled with organic materials, patterns, and playful arrangements.
Modern Monochrome
Taking cues from Tip 2's color coordination advice, this style focuses on a single color palette. Incorporate different shades and tones of one color for a sleek, modern look. Matching frames - especially in black or metallic finishes - work well here, particularly with black-and-white photos or abstract art.
Eclectic Mix
Using Tip 4's suggestion to vary frames, this style blends old and new elements. Pair ornate gold frames with simple, modern ones, and mix antique maps with contemporary art. The key is to keep the arrangement balanced by maintaining consistent spacing, even with the variety of styles.
Pick the style that best suits your room's decor, and turn your gallery wall idea into a stunning reality.
Conclusion
Creating a gallery wall is straightforward when you stick to these tips. With these steps, you can design a wall that showcases your style and evolves with your collection.